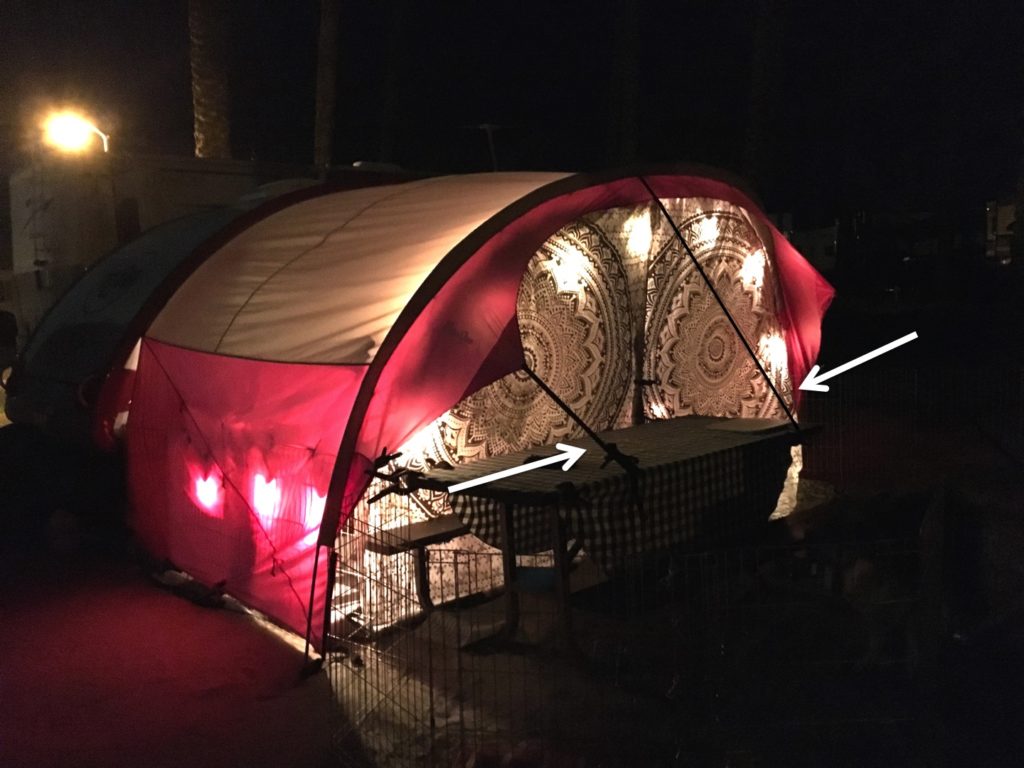
The awning is anchored to the picnic table.
I posted a photo of my awning and hippie panels on a T@B trailer Facebook group and got a lot of likes, questions and comments. So I thought I’d make a post about it.
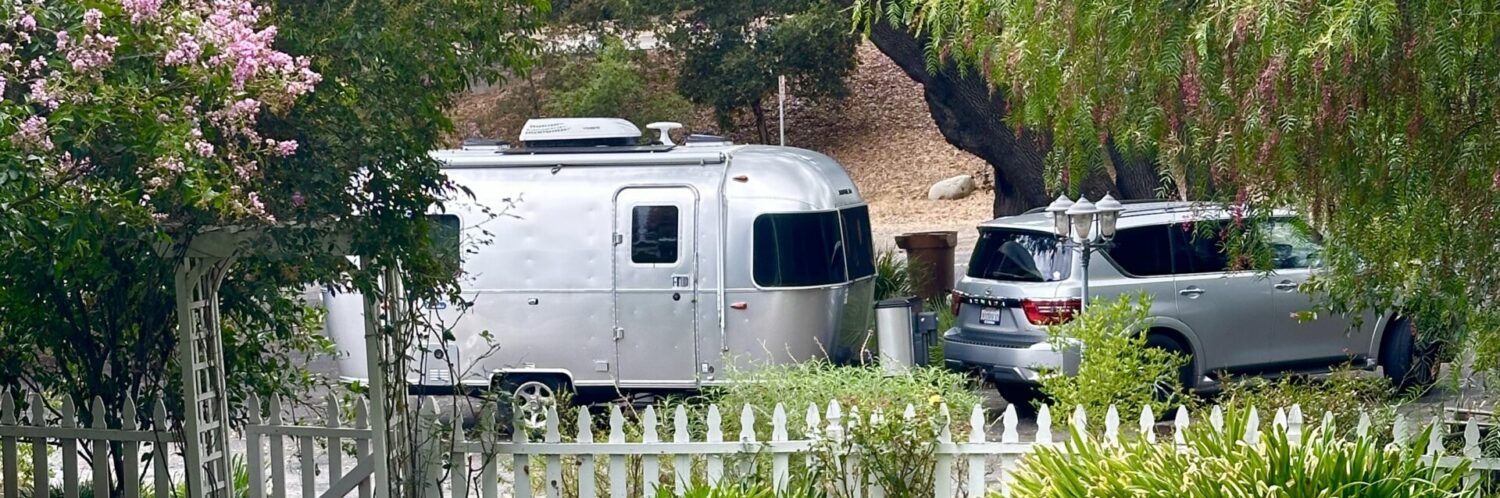
What Is This Awning?
The awning that attaches to the trailer via a keder rail is made by PahaQue Custom. You can see here that the awning costs about $500. Ouch! The awning is supposed to be grey with red, but the red has faded to pink. That’s because I use it full-time, often in the Southern California desert, and that’s not what they are made to endure. I bought some UV spray, at the suggestion of the company, but my awning is too far gone. Someday I will buy another one and make sure I treat it with UV spray from the very beginning. Also, I will learn better not to set up camp in the sun. I’m learning that more and more all the time. Also, Pahaque should give me a commission or a bonus or a new awning for all the PR I do for them. When I set out on my journey 10 months ago, I thought I’d get a lot of questions about the T@B trailer. But the awning is what everyone wants to talk about. Everyone wants to create this kind of space outside their rig.
I must have some kind of awning outside my trailer. I have some kind of deep and powerful need for a covered front porch. I had one for 8 years when I lived in New Orleans, and after I surrounded it with screen to keep out insects, I practically lived out there. When I don’t have a covered front porch, I feel too exposed to the world, too close, with not enough of that gentle in-between space. Not quite inside, not quite outside. It’s a place to greet the world. I love front porches so much that my friend Erica and I created a website called Front Porch Nation.
What About These Hippie Panels?
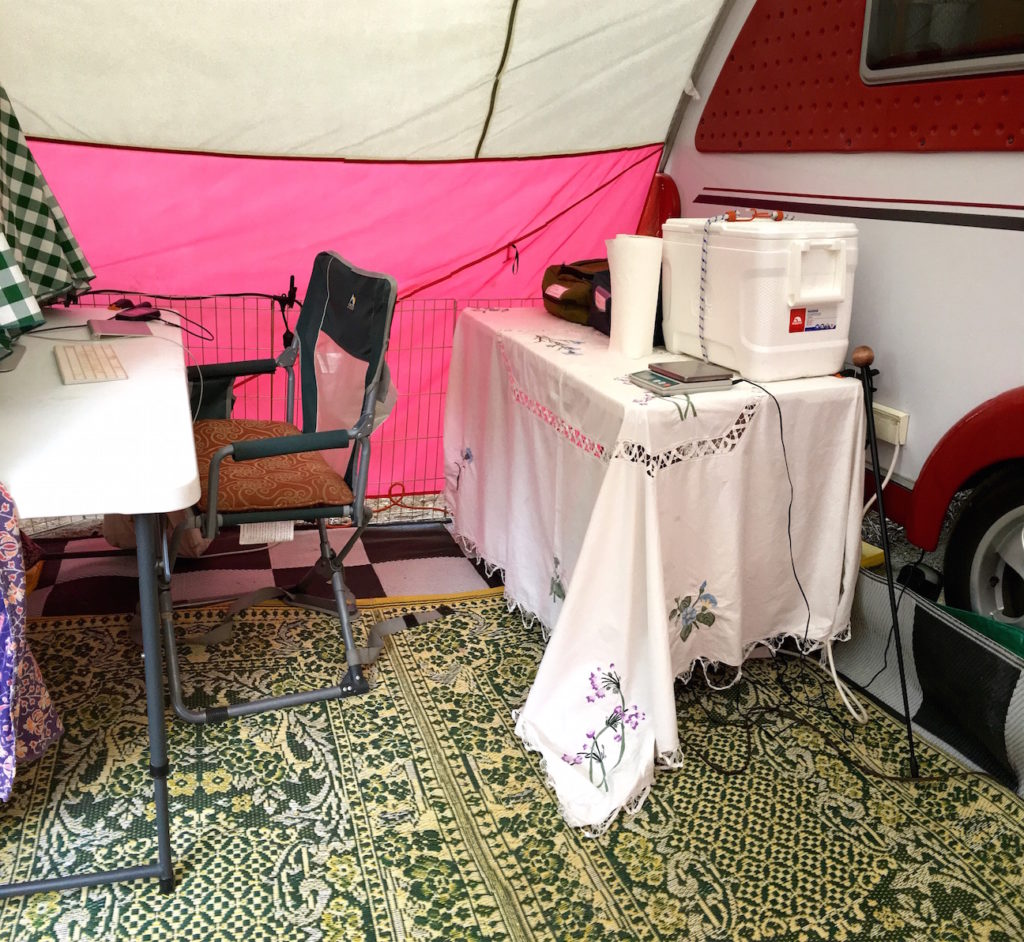
After a while of full-time T@B living, I began to want privacy at night inside the awning area. At first, I clipped a tablecloth across the opening, which gave me some privacy. Then I began to experiment with bedsheets across the whole opening. Finally I found these “hippie panels” on Amazon for about $13 to $15 each. The first one I bought faded after a few months in the desert sun that I was telling you about. You can see it repurposed on the table in the picture.
Next, I bought some white ones with gold accents, “Gold Ombre.” They look too much like bedsheets, but they did look pretty cute in an RV park in Palm Springs. Also, some dye ran and they got a weird green stain. By the time I noticed, it was too late to return them. I use them to cover a table inside the awning area, which gives me a place to hide stuff under the table so my camp doesn’t look junky. Next, I purchased the hippie panels you see here, which the company calls. That pretty much covers all the key words. They look very much like owl eyes. Right? I have purchased Sun Guard, a UV treatment for cotton fabrics, and I will wash them in it soon to prevent fading. I always buy the “full” size, rather than twin or queen, and they work pretty well.
How Do You Attach the Panels to the Awning?
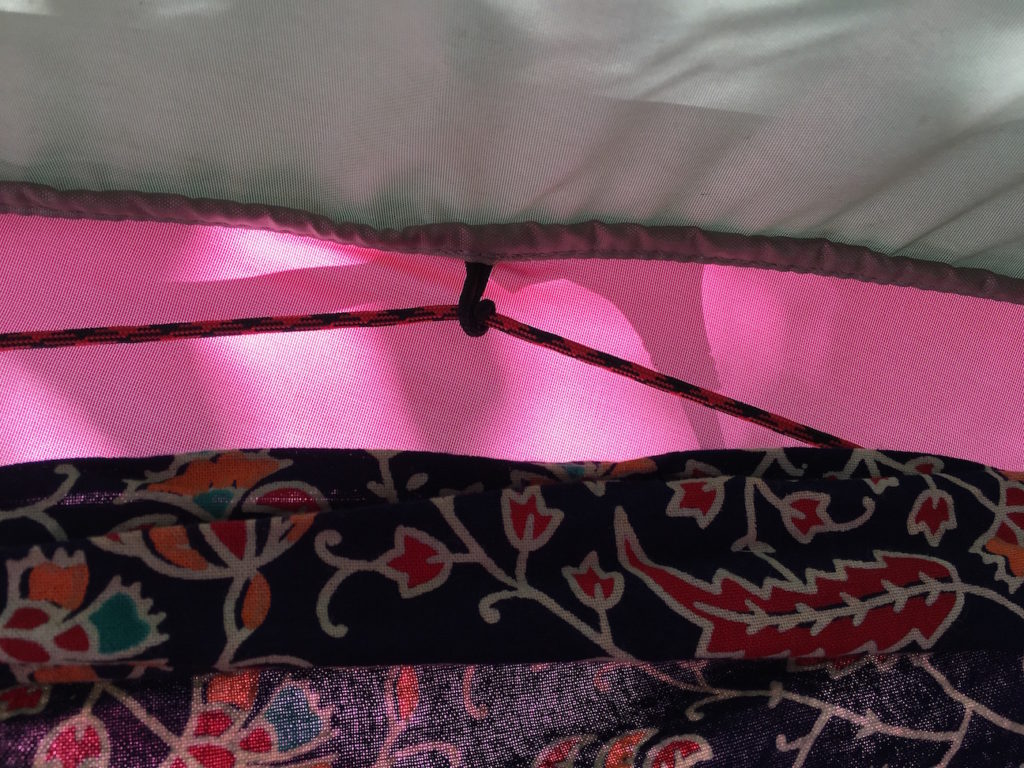
At first, I tried to use clothes pins, or office clips to attach the panels to the awning. I have since perfected my system. I tied some cord to the loops inside the awning that are meant for the solid color front panels that PahaQue sells. Sorry PahaQue. Those panel are too boring. Actually, I craved those solid nylon panels but they were so expensive. When I showed my FB friends my hippie panel workaround, they loved it and wanted some panels for themselves.
With the cord tied into place, I clip the panels to it with my new favorite thing, spring clamps. I have a massive bag of spring clamps and I need more! They have so many uses. Also, I clamp the panels to the picnic table, which I routinely position in front of the awning.

The awning itself is anchored in the middle and on one side to the heavy table. I clamp one of the panels to the table seat to prevent it from flapping too much in the breeze. I find that with the awning, panels, picnic table, and dog fencing all clipped together, I have quite a sturdy assemblage that can stand up to heavywind.
One note: These are square panels and I do not cut and hem them into a curved shape. I just fold them over as necessary so one edge reaches the ground. It ain’t pretty, but it’s easy.
Why Is This Setup so Awesome?

Let me count the ways:
- It’s colorful and happy.
- The panels give me privacy.
- I create an outdoor kitchen under the awning (with actual cooking done outside of it on the picnic table) and it feels cozy and protected. But do not leave any food out there, except in a sturdy cooler. Trust me on that one.
- I can clip the panels up and out of the way during the daytime, then let them fall down for near total privacy at night.
- I keep my porta potty inside the awning area, and when I want to use it in the daytime, I simply let the panels hang, use the restroom, and then clip them back up.
- The awning and panels and rugs together function kind of like a tent, but they are not a tent. There is no zipping and unzipping. And if insects or critters get in, they can easily get out. When I camp at an RV park that states NO TENTS, I am not in violation. This is an awning.
- At night, I have a lovely private area for me and my dog, essentially doubling the living space in my T@B.
- If it’s a bit chilly in the evening and I want to be out in the awning, I can run a small electric heater in the area, and it holds in heat quite well.
- If I want to set up a table and use my 27-inch iMac under the awning, I keep one panel down and clamped and nobody knows the computer is there. I cover it at night against dust.
So that’s the lowdown on the hippie panels. Thanks for stopping by!